Bruno, Jessie and I have been working FEVERISHLY for the past few weeks to get everything ready to leave for Orlando. There are (literally) hundreds of swaps that we have made. We have made a few different types so we will be sharing those with you over the next few days.
But, maybe you are asking - why are we going to Orlando? Well, let me tell you.....

Every six months, Stampin' Up! arranges an event at which the latest catalogue is released. These events are held in various countries and usually, we attend the event in Australia. However, this year, Stampin' Up! is celebrating its 30 Year Anniversary and have organized a massive event in Orlando, Florida. Bruno and I attended the 25th Anniversary in Salt Lake City and that was an AMAZING event.

Bruno says that this photo below made him feel like he was the winner of American Idol! Lol!

So, when we first heard of this event in Orlando, we knew we wanted to go! And, now, we are flying there! Im sure we will have MANY photos like this. When you read this, we will be in the air ...... for a long, long, long, time! Hopefully we get some sleep!
Anyway, I wanted to share with you one of the projects that we made as a swap for the event. Recently, Bruno made this card on the blog. And, we thought that would be a great card to make into a swap.
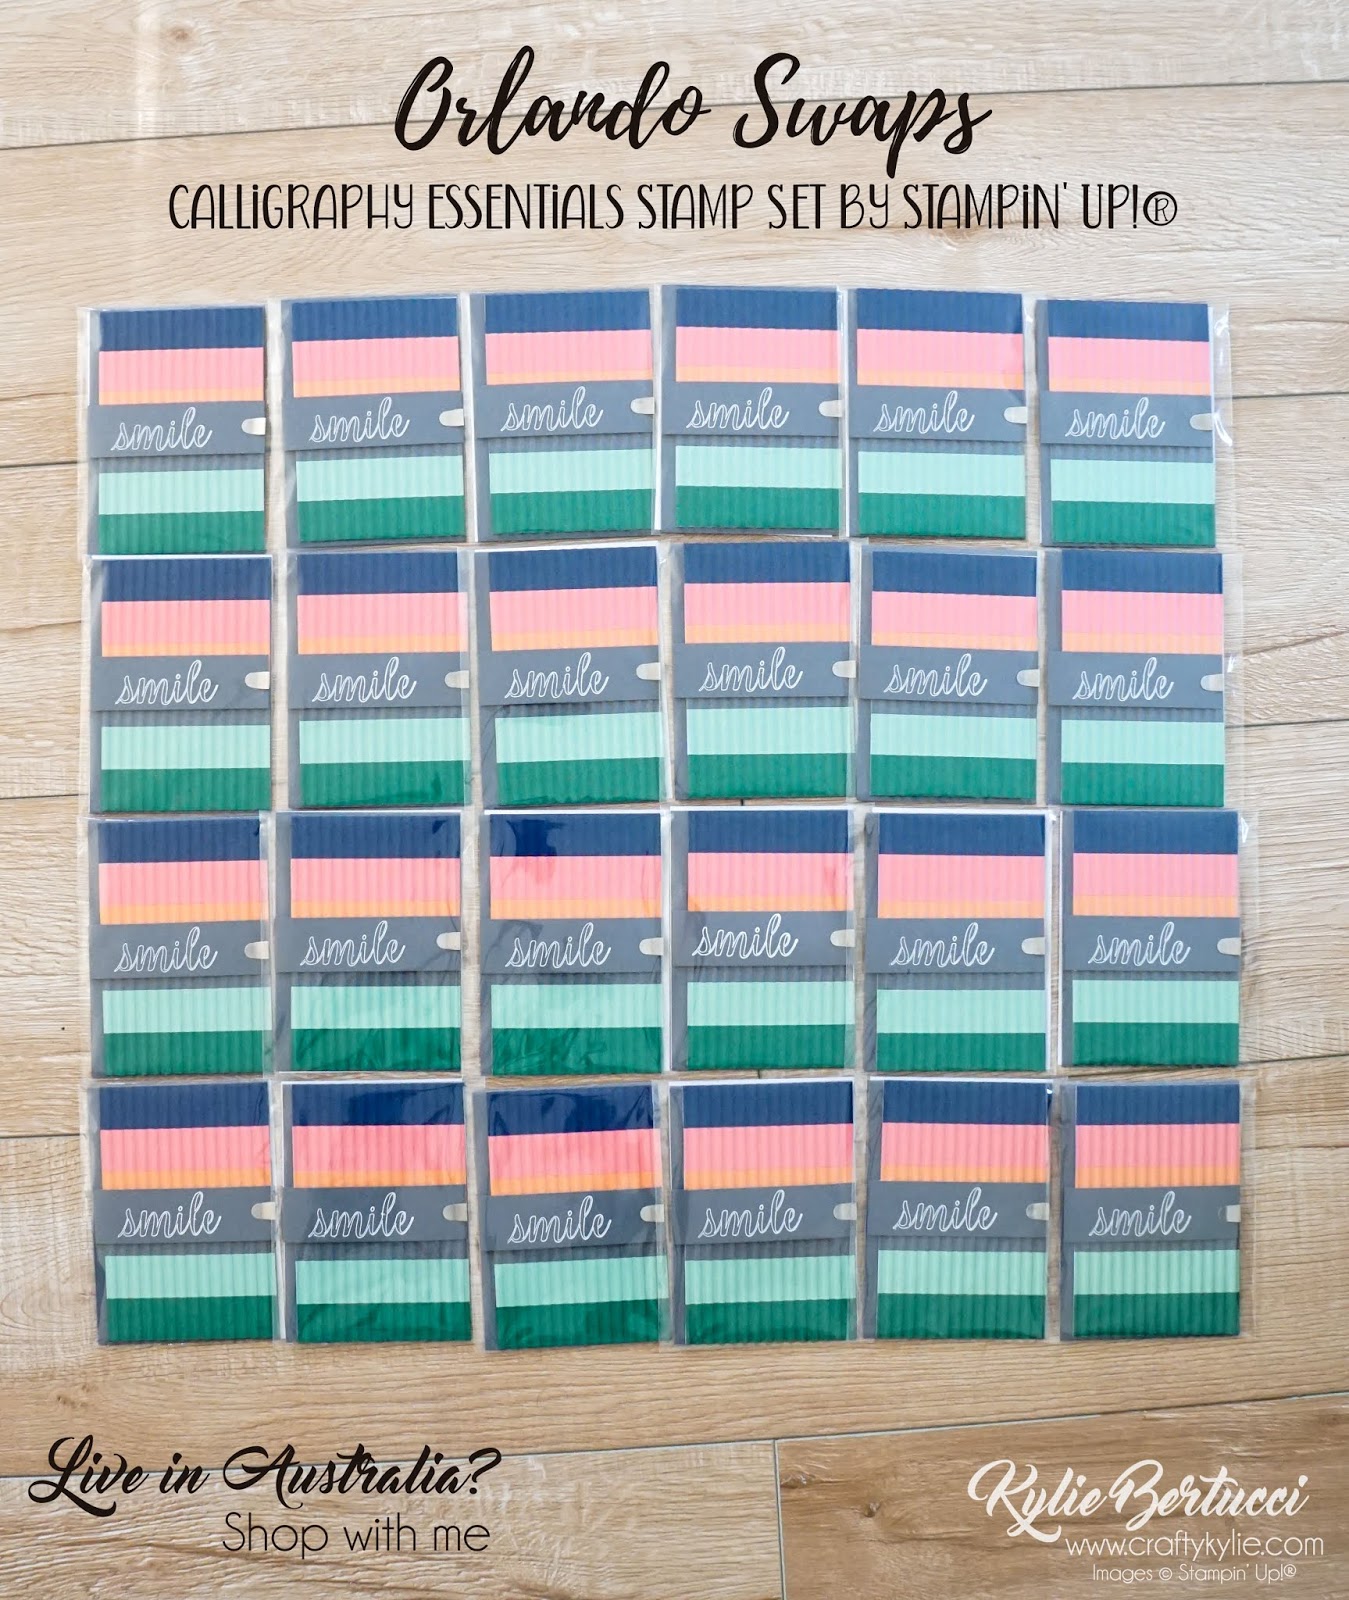
Sorry about the plastic bags - I meant to photograp them before they had been bagged but forgot!
On the original post, one of the questions we were asked was 'How did you get the pieces to line up?'

Here is how you can make the card;
- Starting with a full sheet of each of the colours. Using the full sheet of each of the colours, cut up the entire sheet into strips.
- Using a full sheet of Whisper White as a 'backing sheet', glue each of the coloured strips down.
- Using the coloured sheet in the previous step, cut this into four pieces (you can make four of these cards) and using the Corrugated Embossing Folder, run through the big shot (Note: This embossing folder has large corrugations. If you look closely at the width of the card base VS the width of the coloured portion on the sample, you will notice the difference. This is due to the corrugations on the embossing folder.)
- Stick this coloured card down to Basic Grey card base.
- Using a piece of Basic Grey, white emboss the sentiment, and stick down using dimensional.
- Use a Galvanised Clip as an accent.
And, that's it!

Thanks so much for stopping by today. To keep up to date with all of the exciting adventures at OnStage in Orlando, don't forget to follow us on Facebook.
If you live in Australian and you need any of these products, click on the shopping links below;
Live in Australia? Shop with me now!


November Tutorial Bundle is HERE!
12 amazing tutorials to inspire you
$20AUD


No comments
Thanks for making the time to write a comment - you have made my day